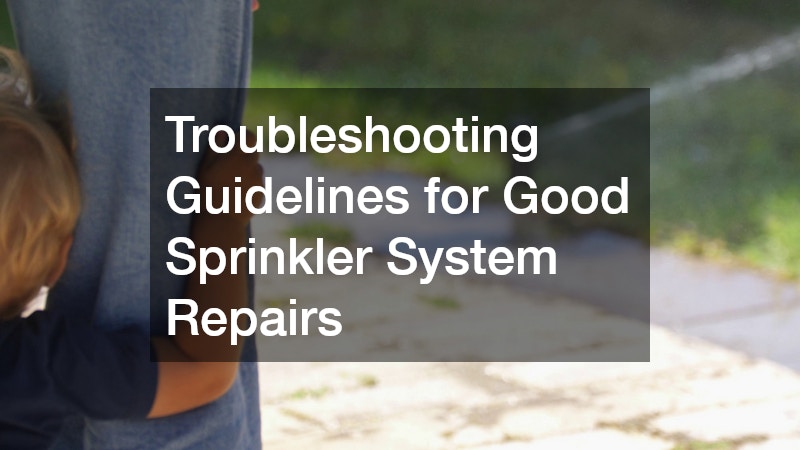
Understanding how to troubleshoot and repair your sprinkler system is crucial for maintaining a healthy lawn and conserving water. This guide will provide you with effective strategies and tips for identifying and resolving common sprinkler system issues.
How do I identify common sprinkler system problems?
Signs of a malfunctioning sprinkler system
Learn how to spot the most frequent signs of sprinkler problems, such as puddling water, uneven lawns, and unusual noises. A healthy lawn vitally depends on consistent and comprehensive coverage, which can be disrupted by sprinkler malfunctions. Look for patches of grass that are discolored or drier than the surrounding areas, as this could indicate specific sprinklers aren’t functioning correctly.
Puddling or overwatered areas may be a sign of a broken sprinkler head or an issue within the system’s piping. Also, listen for strange noises from the system, such as hissing or whistling, which might indicate a pressure problem or blockage.
A ubiquitous telltale sign of a malfunctioning system is inconsistent watering patterns. Observing whether all parts of the lawn receive equal amounts of water can point to distribution issues. Another common symptom is excessive dampness or water leakage at specific locations, suggesting a potential break. A process of elimination is beneficial in diagnosing some of the common issues. Finally, make a routine check for standing water after running the system, and evaluate whether the sprinkler runs at optimal times to minimize water evaporation.
Drastic changes in water utility bills can also indicate a fault in the sprinkler system. Higher-than-average bills without increased usage can suggest a leak or system overuse. Checking the timing schedule and ensuring it’s set for the right duration and frequency can prevent unnecessary watering. Consider investing in a smart sprinkler controller to help manage watering schedules effectively. Paying close attention to these signs and symptoms can forestall bigger, more costly repairs down the road.
Tools required for diagnosing issues
Get to know the essential tools you need for effectively diagnosing and troubleshooting sprinkler system issues. A multi-purpose sprinkler tool is often invaluable as it combines multiple functions like adjusting, drilling, or cleaning. A pressure gauge is indispensable for measuring water pressure and diagnosing both high and low pressure issues. A shovel or a trowel will be handy for digging up sprinkler heads or repairing underground pipes. Finally, having a comprehensive repair kit with spare parts can expedite replacing broken or worn-out components during diagnosis.
Different problems require specific tools for effective resolution. Simple malfunctions can often be fixed with just a screwdriver to adjust or tighten components. However, more complex issues may require tools like pipe cutters or sealing tape to fix cracks or leaks. Safety goggles and gloves are always recommended when working with pressurized piping or electrical connections to avoid accidents. Properly equipping yourself ensures that you can address any issue swiftly without causing unnecessary delays or additional problems.
Understanding how and when to use each tool is vital for effective troubleshooting. For example, knowing how to read pressure gauge outputs can guide you in adjusting the system for optimal performance. Using the wrong tool or method may cause more harm than good, such as stripping screws or damaging pipe threads. Regular maintenance of your tools will also extend their life and increase their reliability. Ultimately, having the appropriate tools at hand makes troubleshooting an organized, methodical process instead of a frustrating trial-and-error endeavor.
What are the steps to fix a broken sprinkler head?
Identifying a broken sprinkler head
Explore the methods used to determine whether a sprinkler head is damaged or malfunctioning. Examine each head closely, looking for visible damage like cracks or clogs, which can usually be spotted upon careful inspection. An effective method is to run the system manually and observe if any heads fail to pop up or retract, indicating a possible failure. Discoloration or corrosion of the sprinkler parts may highlight long-term exposure to harsh weather conditions or mineral-heavy water supply. Sprinkler heads that emit a weak spray, spit water sporadically, or fail to rotate properly need immediate attention.
Sometimes soil and debris blockage can mimic the symptoms of a broken sprinkler. Carefully unscrew the head, wash any dirt off, and check for clogging in the nozzles, which might not be visible from the surface. Prevention is better than cure; make a habit of regularly checking the filtration screens within each sprinkler head as they catch debris that may otherwise cause damage. Watch for cover cracking, holes, or skewed alignments, which might not obstruct water flow initially but over time can lead to uneven distribution. Also, uneven spray patterns, where part of the water goes off-target, may suggest a misalignment or partial blockage.
Weather can contribute to sprinkler head damage as freezing and thawing cycles cause expansion and contraction of materials. Consider reviewing frequently used pathways or areas where vehicles may compress the soil or inadvertently damage components. Periodically operating the system, especially at the start of seasons, helps to identify early signs of damage. If adjustment and cleaning fail to restore function, replacement of the sprinkler head or nozzle may be necessary. With systematic checks, it becomes easier to pinpoint issues swiftly and maintain the irrigation system’s efficiency.
Step-by-step repair process
Follow a detailed, step-by-step guide on how to repair or replace a broken sprinkler head. Begin by turning off the sprinkler system to prevent any accidents due to pressurization. Next, dig around the sprinkler head carefully, using a shovel, to expose the connecting pipe without causing damage. Unscrew the damaged head from the riser and inspect the parts for additional signs of wear or debris. Taking note of the sprinkler type ensures proper replacement with a compatible head.
Perhaps the most critical step is to flush out the system once the head is removed, which clears any debris that might have lodged in the piping. Screw the new or newly cleaned sprinkler head onto the riser securely. Ensure the head is aligned properly to provide even water distribution and check once more for any leakage. After confirming that the replacement is secure, fill in the soil and position the turf to maintain a neat appearance. Finally, test the system’s operation by running the sprinkler again and observing for any anomalies in the new setup.
Each repair provides the opportunity to deepen your understanding of the system and prepare for future issues. Re-assessing how well each repair holds up over time can also reveal new problem-solving techniques. Maintaining spare heads and regular equipment checks can minimize downtime and frustration associated with unexpected failures. As with any mechanical component, gentle handling, especially with plastic parts, ensures that repairs are not inadvertently causing additional damage. Proactively engaging in preventive maintenance keeps long-term costs down and assists in maintaining a lush, well-irrigated lawn.
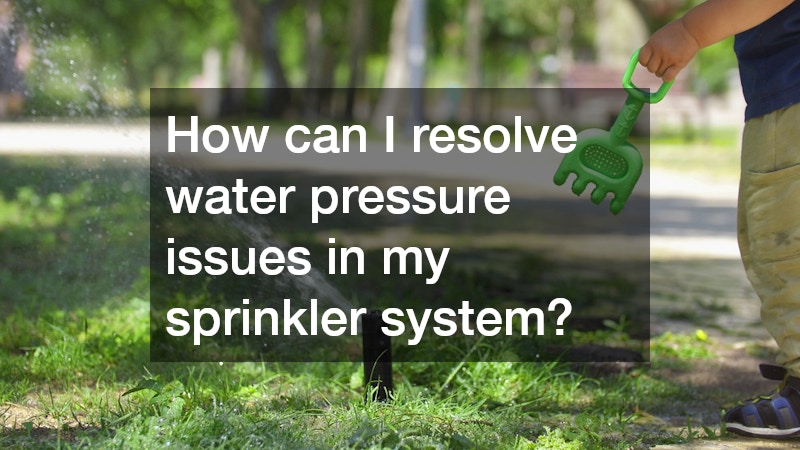
How can I resolve water pressure issues in my sprinkler system?
Diagnosing low water pressure causes
Understand the different factors that might cause low water pressure in your sprinkler system and how to identify them. Low pressure can often stem from leaks or cracks in pipes leading away from the water main. Overgrown roots, soil movements, or heavy traffic can flex and fracture pipes, diminishing overall system pressure. Inspect water sources beyond the sprinkler, as clogs or rust at the main valve can trickle down through the entire installation. Different zones receiving inconsistent pressure might indicate a problem with the main valve or pressure regulator.
Identifying these issues often begins with systematically testing each zone and noting pressure discrepancies. Chronic water pressure problems may be traced back to incorrect sprinkler system design, where the flow rate exceeds the supply pipe capacity. While each property’s needs differ, a general rule of thumb is ensuring no more than 50-60% of calculated capacity is used at any time. Employing a pressure gauge can effectively localize blockage points or identify inadequate supply lines, aiming focus where repairs are necessary. Further analysis might reveal pressure tank issues, aging pipes, or the need for flow control valves to stabilize delivery rates.
Consulting with local water utilities may yield helpful insights regarding variations in municipal supply that could affect performance. Certain periods, like summer, witness an increase in water demands that could temporarily lower pressure. Keep an eye on seasonal patterns to distinguish between systemic and environmental factors influencing pressure levels. An often-overlooked component is the backflow preventer, which, when malfunctioning, restricts flow instead of safeguarding against contamination. Ensuring each link in the supply chain performs optimally increases both effectiveness and efficiency, facilitating sustainable water management practices.
Solutions for restoring pressure
Discover effective solutions and adjustments to restore optimal water pressure in your sprinkler system. Begin by ensuring the main water valve is fully open and unobstructed, eliminating physical impediments at face value. Adjusting the controller to manage zone operations separately could balance water distribution, especially in extensive systems. Consider replacing old or clogged piping with higher-capacity variants designed to withstand both pressure and volume demands. Installing a booster pump offers a new lease of life to struggling systems by augmenting low main pressure.
For localized pressure drops, inspecting specific segments for blockages or kinks may unveil simpler fixes, such as clearing out debris. If consistent pressure instability persists, examine the pressure regulator for malfunctions or replacement needs. Modernizing your system with pressure-regulated sprinkler heads could optimize spray patterns despite variable pressure profiles. A cost-effective and engaging alternative involves employing drip irrigation lines that deliver water directly to plant roots, maintaining lawn vitality even with reduced pressure. Regular maintenance that includes cleaning system filters and checking for mechanical faults ensures larger issues are preemptively addressed.
Planning for maintenance checks incorporates warm-season poison anticipation, where increased plant transpiration might influence utility response times. Systematically reviewing and scheduling irrigation cycles during off-peak hours minimizes contention with residential water needs, elevating pressure consistency. Engage professionals when expanding irrigation networks to deliver calibrated designs that harness technological advancements, promoting smarter resource usage. Introducing variable frequency drives (VFD) to pumps allows targeted pressure adjustments, aligning supply with precise demand. Collective these efforts expand upon active lawns while contributing toward sustainable horticulture initiatives.
Conclusion
By following these troubleshooting guidelines, you can ensure your sprinkler system operates efficiently, helps in conserving water, and keeps your lawn looking its best. Regularly inspecting and maintaining your system will also help prevent future problems and sprinkler system repair projects. Understanding the different aspects of troubleshooting and repairs empowers you to address issues swiftly. As you apply the techniques mentioned here, the benefits extend beyond just saving water, contributing to an aesthetic and sustainable yard. It is these practices that will help you achieve a reliably effective sprinkler system over time.